This section covers the foundational setup of the Qpercom Assessment Platform, including managing your account, viewing system logs, configuring your organisation’s structure, and importing your users and candidates.
1. Getting Started: Logging In & Account Management
- Navigate to your Qpercom URL: As an administrator logging in to Qpercom, navigate to your organisation’s Qpercom URL in your browser. This generally follows the format example.qpercom.com.
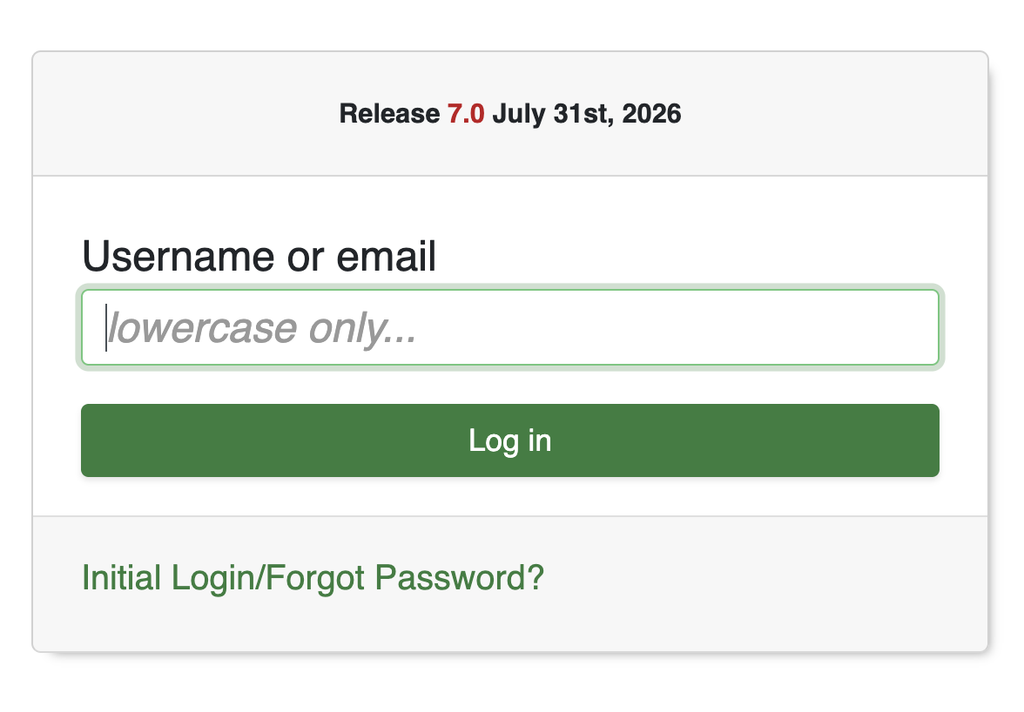
- Login: Enter your Identifier or full email registered on Qpercom along with your Password and click on Log in.
- Change Password: You can change your password by clicking on your initials on the top right and choosing Manage Account. Alternatively you can navigate to Main>>>Manage Account from the top menu. You will need to specify your current password and then input your new password twice to confirm before clicking Save.
2. Viewing Audit Logs, Event Calendar & Usage Tracking
- View Audit Logs: To see all activity on the platform, you can view Audit Logs by navigating to Main>>>Admin Tools>>>View Audit Logs from the top menu or click View Audit Log on the homepage. Audit Logs are searchable by date range, keyword and category and you can specify how many search results you want to view per page before clicking Fetch Logs to return relevant activity.
- Event Calendar: On the homepage, you can navigate to any scheduled assessment event by clicking on it in your Event Calendar. You can view upcoming events by branh and choose to view by month or in list format.
- Usage Tracking: You can view Usage Tracking on the homepage to see the number of submitted scoresheets, video minutes, SMS messages, composition minutes and portfolio uploads.
3. Managing Assessment Periods & Competency Frameworks
- Manage Assessment Periods: You can manage Assessment Periods by navigating to Main>>>Manage Assessment Periods from the top menu. On this page, you can edit previous Assessment Period names or date ranges and click the Add button to add a new Assessment Period when required.
- Build Competency Frameworks: You can manage Competency Frameworks for blueprinting by navigating to Main>>>Admin Tools>>>Manage Assessment Periods from the top menu. On this page, you can view and update Competency Frameworks that already exist on the platform. You can also add new Competency Frameworks by clicking the Add Framework option and giving it a name and Description and clicking the Save icon. Within each Competency Framework you can add Competencies and Sub-Competencies and reorder them as appropriate to build out your framework.
- Link Competency Frameworks: To make a Competency Framework available to link to assessment content, navigate to Fields>>>Manage Branches and ensure that the Competency Framework is added to the Branches you want it to be used within. Once added to a Branch, the Competency Framework will be available for use within Scoresheet and Question Options.
4. Managing Organisation Structure (Fields & Branches)
- Manage Fields: You can manage your Organisation Structure by navigating to Fields from the top menu. On this page, you can view existing Fields and add new Fields by clicking the Add button and ensuring it has a unique Identifier and Name to distinguish it from others. You can have any number of Fields on the platform and each Field can have any number of Branches within it to separate assessments and users further.
- Manage Branches: By navigating to Fields>>>Branches from the top menu, you can view existing Branches and manage the names and Competency Frameworks associated with each. You can add a new Branch to a Field by clicking the Add button and ensuring it has a unique Identifier and Name to distinguish it from others.
5. Managing Users & Assessment Teams
- Manage System Wide Users: You can manage higher level Administrators and Support Agents by navigating to Users>>>Manage System Wide Users from the top menu. On this page, you can view and update users that already exist on the platform. You can specify a users role as overall Administrator, Field Administrator or Support Agent and choose which Fields that user will have access to manage.
- Manage Assessment Team: You can also manage Assessment Team users by navigating to Users>>>Manage Assessment Team. On this page, you can filter the Assessment Team members you are looking for with the search filters. User roles you can assign here include Assessor, Assessment Administrator, Station Manager, Actor or Clinical Lead.
- Bulk Import Users: You can import Assessment Team members in bulk when you have a large number of them to add to the platform by navigating to Users>>>Import Assessment Team. On this page, you will be able to download a CSV template file which you can populate with user information and save it to your device. Follow the on-screen steps to import your Assessment Team import file and user records will be created/updated.
6. Managing Candidates, Levels & Cohorts
- Manage Candidates: You can manage Candidates by navigating to Candidates>>>Manage Candidates from the top menu. On this page, you can filter Candidate lists and view and update Candidates that already exist on the platform.
- Manage Levels and Cohorts: You can manage Levels and Cohorts by navigating to Candidates>>>Manage Candidate Levels and Cohorts. Here you will be able to view all existing Levels and Cohorts on the system and you can add new ones by clicking the Add button. Should you be planning to import Candidates using Custom Group Import you will only need a Level in place to select when running your import. For imports using the Levels and Cohorts method, you will need a Level, Level Year and Cohort in place for your import to be added to the platform.
- Import New Candidates: You can import new Candidates by navigating to Candidates>>>Manage Candidates and choosing the Custom Group Name import CSV template file for small groups of Candidates or the Levels and Cohorts import CSV template file for larger cohorts of Candidates.
- Import Candidate Images: You can import Candidate Images by navigating to Candidates>>>Import Candidate Images and following the on screen instructions. Candidate images uploaded via Zip file will hook into Candidate records on the platform and be displayed during assessments. Candidates using Qpercom for their Portfolio will have the option to add and edit their own Candidate Image.
7. Conduct Assessment (Administrator Override)
- Update on Behalf of an Assessor: As an Administrator, any time you need to update a Scoresheet on behalf of an Assessor to update marks and/or assessor feedback, click the Conduct Assessment on the top menu once that assessment is Accessible.
- Configure and Update: Configure the scoresheet you want to amend by selecting the Assessment Period, Branch, Assessment, Session and Group. Choose the Assessor name from the Assess as dropdown and a list of submitted Scoresheets will be available to select and Update.