Required Instruments
- Head lamp [Figure 32].
- Gloves.
- Tongue spatula.
 Figure 32
Examination Technique
- For the examination of the mouth and the oropharynx, the patient sits on a chair with adequate back support.
- Sit on a height-adjustable stool beside or in front of the patient.
- Your eyes should be at the same height as the patient’s mouth.
- Wear gloves when palpating the structures inside the oral cavity.
- Before starting the examination run the gloves under a tap to make them wet.
Procedure
- Start the examination with an inspection of the lips [Figure 33].
- For this, aim the beam of light from the head lamp onto the lips.
- Apart from the shape, smoothness and any swelling of the lips themselves, the condition of the corners of the mouth is also important.
- Infections of the oral cavity often present themselves as infections of the corner(s) of the mouth.
- To obtain a good view, ask the patient to open the mouth slightly and turn their head a quarter-turn to the right and then to the left, so that both corners of the mouth can be inspected properly [Figure 34].
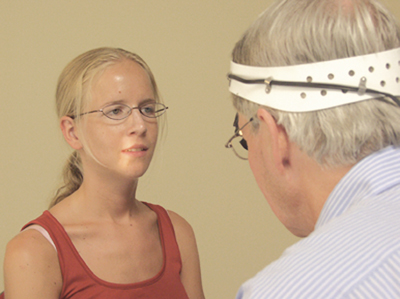 Figure 33
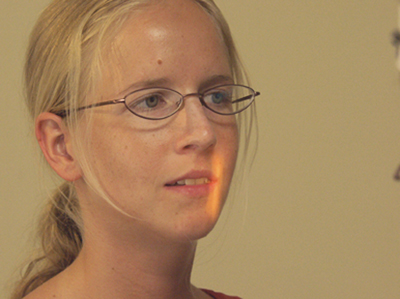 Figure 34
- If a swelling is detectable, or if the patient indicates feeling one in the lips, palpate the swelling and assess its size, consistency and perimeters and whether or not it is adherent to the surrounding tissue [Figure 35].
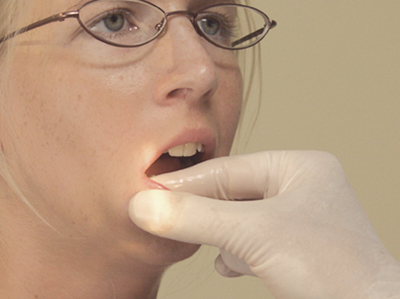 Figure 35
- Ask the patient to open their mouth a little further and aim the light onto the cheek mucosa [Figure 36].
- If necessary, you can hold the mucosa away from the teeth with a tongue spatula.
- Assess the colour, intactness, and the presence of any swellings and/or coating.
- Locate the opening of the parotid duct.
- Palpate the cheek between two fingers of your external hand, which you press against the cheek, and one or two fingers of your internal hand [Figure 37].
- Make small circular movements with the internal fingers across the external fingers.
- If you detect a swelling, describe this in more detail.
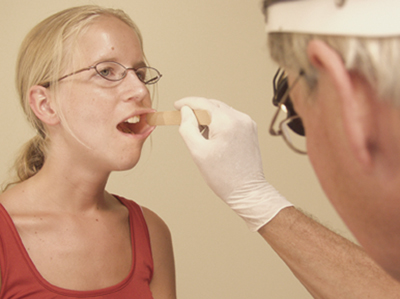 Figure 36
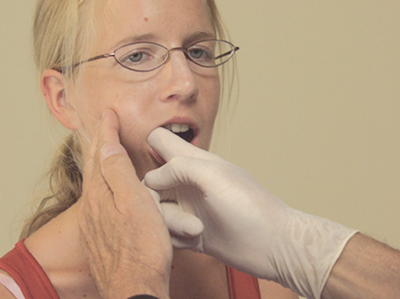 Figure 37
- The state of the gums and the teeth gives a good indication of oral hygiene, as does the patient’s breath.
- Tooth and gum infections produce a foul odour.
- The teeth can be percussed with a tongue spatula. This is painful if the root of the tooth is infected.
- The teeth can also be grasped between thumb and index finger to feel if they are still solidly attached to the jaw [Figure 38].
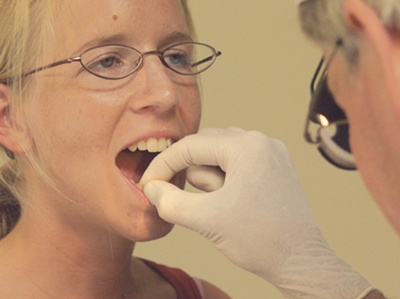 Figure 38
- Inspect the tongue for intactness and presence of any coating or swellings.
- If a swelling is detected, it should be palpated to describe it further.
- Ask the patient to stick out the tongue, to move it up and down, and left and right [Figure 39].
- If you suspect a neurological injury as the cause of your patient’s symptoms, test the strength of their tongue by asking the patient to press their tongue against the spatula.
- In this manner, you can also identify abnormalities in the movements of the tongue and compare these movements with the resting position of the tongue.
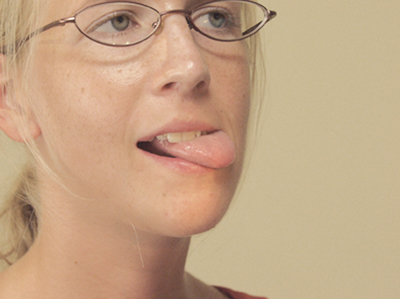 Figure 39
- Ask the patient to hold the tip of the tongue against the palate, so that you can view the floor of the mouth [Figure 40].
- You can now determine the length of the lingual frenulum.
- Aim your lamp on the floor of the mouth and inspect it for intactness, presence of swellings and/or coating.
- Palpate the floor of the mouth between two external fingers and one internal finger in the same way as the cheek [Figure 41].
- Palpable swellings, e.g. of the lower jaw and sublingual gland, should be further described.
 Figure 40
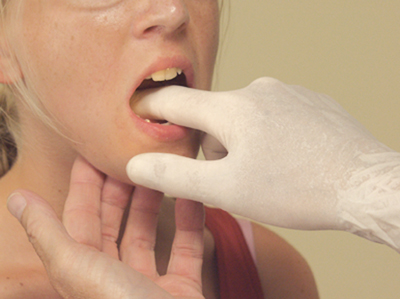 Figure 41
- Allow the patient to return the tongue back into its normal position and ask them to tilt the head slightly backwards.
- In this position, the palate will be easily accessible for examination.
- Aim the light on the palate and inspect it for intactness, presence of swellings and/or coating.
- Thereafter, palpate with one finger the hard and, if necessary, the soft palate [Figure 42].
- When palpating the hard palate pay attention to any potential disruptions of the bony structures (cleft palate).
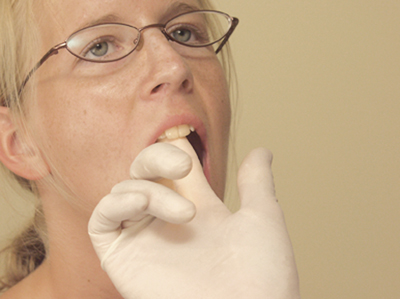 Figure 42